Hello! Kristen here with my el cheapo spray mister idea. Now I love love love all the beautiful misters out there. But I am thrifty- yeah- thrifty sounds good.
ahem.
Sooooo.
Remember back when walnut inks were all the rage? I do - and I still have some left. I had gotten rid of the wet inks I had- oh I wish I had them back. But they leaked like crazy and created some huge messes. I had a container of walnut ink crystals left. oh yes I did- and since I was jealous of loving all the beautiful examples I was seeing everywhere, I thought about a way to make some to try out and see how much I would use them before spending our tax refund on every color in the rainbow a few dollars on some.
Now here is what I did- I took a small bottle of hair product that was empty (recycling!) and I added about 3 tablespoons of ink crystals and filled the rest of the bottle with hot water. Wrapped a couple paper towels around it and shook it up really good. ( in case of leaks) and it was ready to use.
On to my projects..
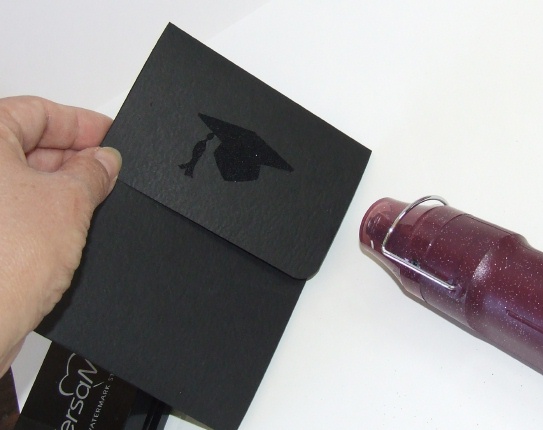
To use a mask, I simply used a punched out piece of scrap chipboard.
Cover your surface.

Spray liberally, or lightly depending on your artistic desires.

Remove mask and allow to dry.
I have also learned that you can use Stamp Reinkers and rubbing alcohol- which dries faster. I tried this with Alcohol Inks and Alcohol and it worked well, they are very saturated colors.
I also like that I can squirt the bottle slowly and get out some nice big drops and splatters, or mist it quickly for a finer mist coverage.

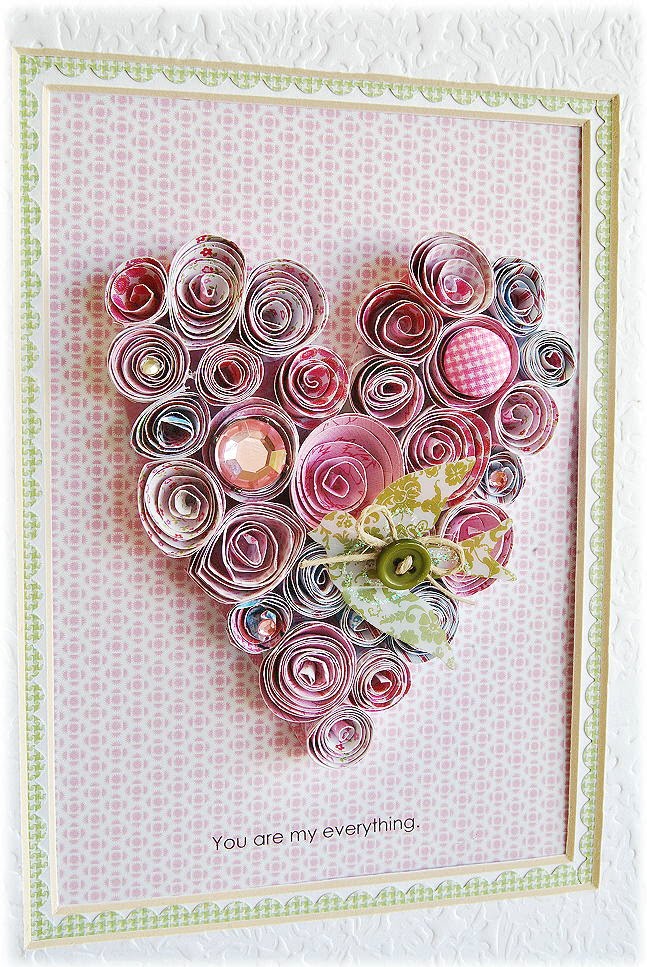
Some examples of projects I have used this masking technique and my faux ink misters.
This layout I allowed to dry and traced around some of the circles with black pen.

Next, are a couple of cards I created with this technique. You can also spray flowers, chipboard, letters, etc.. with these misters.


kris